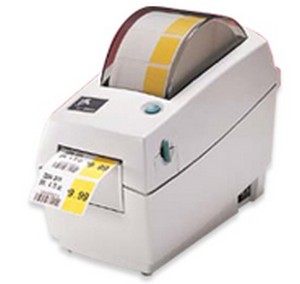
Label printing can be a tricky job, leading to some difficult scenarios. The reason for this is because there are enough areas where it is possible to go wrong to waste your time and money.
These difficulties included feeding envelopes in the wrong direction, resulting in erroneous printing and wastage of costly label sheets due to incorrect label and product size information. To avoid the frustration surrounding label printing, we’ve put together four essential things you should know about label printing, ensuring your printing job goes smoothly and your hair stays intact.
Pre-Purchase Check before Label Printing
Before buying labels, it is important to check that they work in harmony with your printer. Specific labels are designed for works better with certain inkjet cartridges and inkjet printers while others are more suitable for use with laser printers. To get the best from your labels, choose one that fits your printer.
Use Special Software for Label Printing
A more efficient and stress-free way to print labels for envelopes or otherwise is to use special software that takes care of all the sizing and positioning required. Certain label manufacturers provide their own software for label printing or you can find the feature in many word processing programs. You can choose from a variety of templates to suit various label sizes.
There are options for bulk or single label printing. It is very important that you enter the correct size of the label you are going to print or if there is an option in the program, enter the product number for your label. Choose your preferred font size, style and other customizations; make sure they are legible on your label. You have many additional options such as adding a default return address or a customized business label.
Positioning & Setting for Printing Labels
Once the template details are filled in in the program of your choice, make sure you check which way the envelope or label should be fed into the printer. programs like Microsoft Office Word & Publisher providing information on feeding; tells you whether it should be inserted face up or down, saving wasted time & materials.
Make sure you have adjusted the printer settings to optimize print quality, by selecting the label settings before starting. If the toner comes off easily during the test, select ‘transparency’ as the media type in your printer settings instead of paper. This can be found in your print dialog box in print options.
For better printing quality, reduce your printer’s DPI resolution; this is useful for preventing ink smudges on your labels. Choose plain paper and normal settings with a resolution of 300 or 600 DPI.
Label Testing on Plain Paper
It’s a good idea to print a test sheet on a blank sheet of paper, checking that it’s within the mark of the label before you start printing on the label itself. Do this by holding the printed sheet behind the label. If they are out of alignment, make any necessary layout adjustments by adjusting the left and right or top and bottom margins. This saves you a lot of frustration and wasted labels if your first or second attempt isn’t the right size.
Additional Tips for Label Printing & Storage
- Store your labels in their original plastic packaging in a cool dry place to avoid moisture damage. Weight the packing so that it stays flat, making sure the edges are not bent.
- Handle your labels around the edges; make sure that the oil from your hands does not get on the print area to prevent ink smudging.
- Let the ink dry completely on your labels before handling, peeling or stacking.
- Just passing through label sheet once through your printer as labels can warp or peel off causing printer problems.
By following these four things you should know about label printing, your print jobs will flow effortlessly resulting in high-quality printed labels with little or no fuss.


